
The Medecoder
This page is dedicated to a tool designed and created by me called the "Medecoder". It uses thin wire and a sliding scale assembly to decode and set the proper rotations of pins in Medeco locks. I met with a representative from the company and they responded by upgrading all new locks and pin kits coming out of the factory. Entries toward the top of this page will be more recent than entries toward the bottom. So if you'd like to learn the story; start from the bottom. Also I should note that I have compiled this page roughly a year after this story began. If you find errors, oversights, etc... please let me know as my memory is not perfect.
Upgrading your Locks
As I've said, Medeco's response to the Medecoder was to mix milled pins into their standard line-up. I've been making some calls to them lately to get information on the upgraded pins with the aim of upgrading my own deadbolt. As of October '08, the milled pins have been mixed into the pin kits and pinned locks coming off the assembly line. Ignoring that the shortest key pins cannot have their sidebar grooves closed up due to design, the ratio of mixing is roughly 50:50. Also, they say that your lock must have a sidebar made after 2003; the shape of the sidebar teeth was changed at that time (with the release of the m3 I'm sure). The milled pins are also available alone (not mixed with broached). Here are some relevant part numbers and prices:
- K5006 ( $1315 ) - This is the massive 100-of-everything Medeco pin kit (Biaxial and m3). This one has the milled pins mixed in and supposedly is the only one locksmiths can order of this size now.
- TPF-50[x] ( $0.71 ) - These are individual milled/broached-mix Biaxial key pins. There is a minimum order of 100 pins.
- TPF-51[x] ( $1.14 ) - These are individual milled Biaxial key pins (the good stuff). There is a minimum order of 100 pins.
- TPF-53[x] ( $ ?) - These are individual broached Biaxial key pins (the bad stuff). There is a minimum order of 100 pins.
The [x] is part of the part number and should be replaced with the bitting code of the pin you want. For example: 2K, 4B, 3Q, etc..
These parts must be ordered through a Medeco dealer, so find a friendly one and ask them to order some. Also, I found out that ARX (actual ARX not merely milled pins)
system pin mixes and locks are DoD-restricted and cannot be ordered by a normal Medeco dealer without a good reason. I'll post an update
here when I have successfully ordered and upgraded my stuff to let you folks know about any snags/details.
Building Your Own
This page is all about building your own Medecoder tool. Please do not use this information for commercial purposes. I've posted it
here so that enthusiasts, hackers, locksmiths, and tinkerers can have a guide for building their own. If anyone reads this and builds one;
I'd appreciate you dropping me a line to tell me how it went. I can't wait to see how others' experiences are in both building and testing
these types of tools. I also encourage eveyone to not follow this guide to the letter and adapt the design in different ways. That said, this
article is written in such a way that it can be followed exactly in order to produce a specific version of the tool. I have finished following my
own guide and built a working tool using it. Along the way, I documented the process in photos; let me know if you folks run into any trouble
building one of these things.
Video: Explanation and Tutorial
This video was originally made for NDE magazine when the tool was publicly released. I stumble on it today and realized that it never made
it in there. So I've chopped it up and put it here for your enjoyment. In the video, I explain and show exactly how the Medecoder works for both picking and
decoding. Also demonstrated is the technique needed to use the tool. If you have been scratching your head about how this thing is actually
used then this video will help a lot.
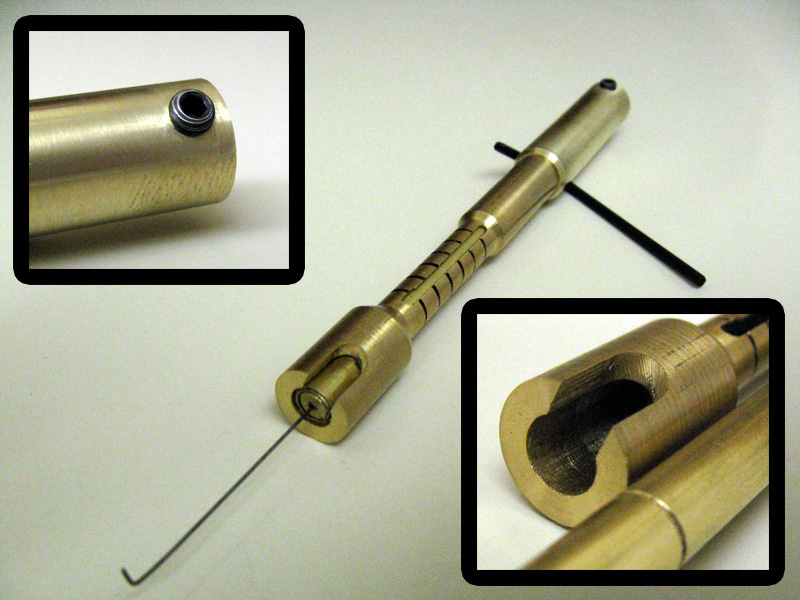
Home Machined Medecoder
After picking up a small, but real Mini-Lathe, my first large project was to create a modern and proper
Medecoder. This was the result. It features interchangable wires and was a lot of fun to build. I have decided to keep this tool for myself,
but plan to build more.
DefCon 16 Talk
A short time later, something very cool happened: Schuyler Towne and I were accepted to give a talk at DefCon! The talk was called "How to Win Friends and Influence Lock Manufacturers". We discussed the various responses by the lock industry to the lockpicking community. Kwikset Smartkey, Abus, and of course Medeco were talked about and the audience had a great time. I have wanted to give a talk at DefCon for several years and to actually do it was very exciting. As a result, I was unable to sleep but quite able to drink the night before. I can now sleep soundly knowing that I can open a Medeco m3 drunk on no sleep in front of a huge audience.
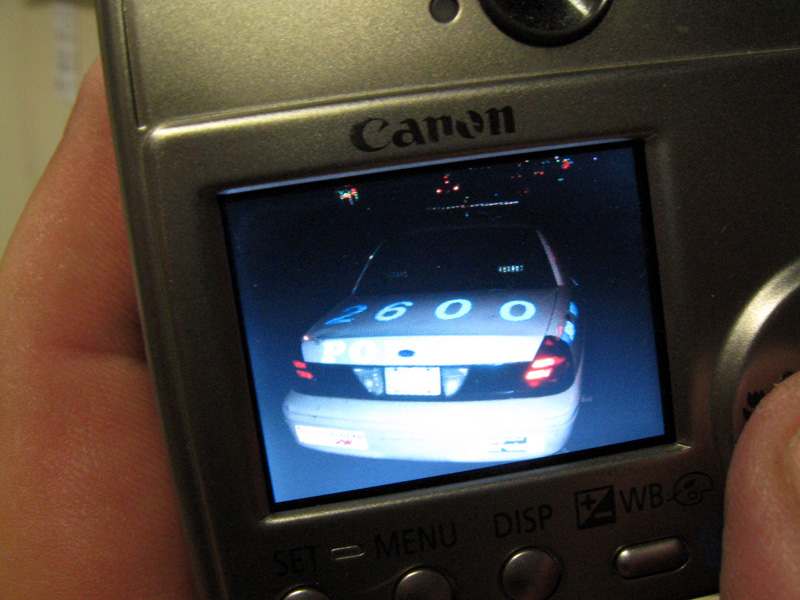
Also around this time, a fellow named Squelchtone realized that Medecoder.com was still
unregistered and snatched it up. He was gracious enough to make the picture posted there link to this page. Thanks Squelch!
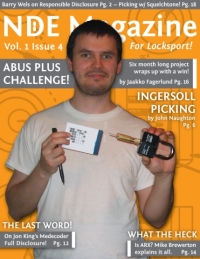
NDE #4 and Hack-a-Day
Very shortly after HOPE, NDE Magazine released Issue #4. I wrote one of the articles
and revealed all of the technical details of the Medecoder; finally setting it free in print. At the same time, a brilliant Finnish lockpicer
named Jaako Fagerlund (the fellow on the cover) decided to release his Abus disc lock decoder-pick publicly. Issue #4 was very exciting
because two community-produced high-security tools were published simultaneously. Also its worth noting that Mike Brewerton wrote
very nice article for the issue explaining ARX pins. The day after Issue #4 was released,
Hack-a-Day put up a post about the
Medecoder and that led to a lot of interest in the tool.
The Last HOPE Talk
After the 2 month window was over, I contacted Peter Field again to verify that we were good to go to speak about the Medecoder publicly.
He gave me his blessing and so Doug Farre and I submitted an application to speak at
The Last HOPE hacker conference. HOPE is held once every two years and this was the first time I attended it. It is a smaller con than
DefCon and that is not necessarily a bad thing. I met a lot of interesting people and everyone responded very enthusiastically to the tool.
I took some pictures and posted them on my Flickr.
I had never spoken in front of this many people before, but it didn't go too badly in my opinion. Doug and I combined our talks into one
so that we could offer both technical and non-technical information to the folks that attended. Doug's part was about starting and
maintaining locksport organizations and was great. His suitability to lead this part of the talk is proven by the fact that he recently was
promoted to President of Locksport International.
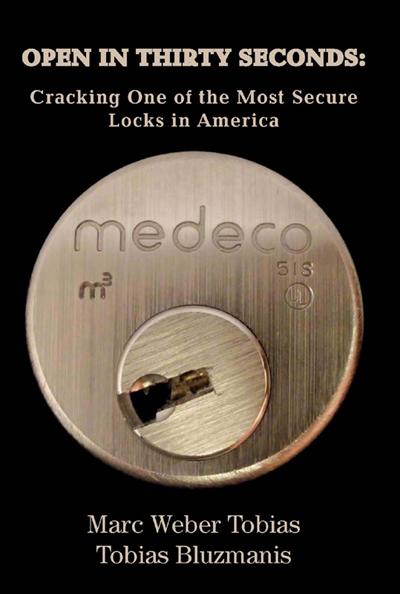
Marc Tobias Responds
Around this time a legend in the picking world named Marc Weber Tobias was getting ready to release his book about breaking Medeco locks. His methods are different than mine and publication of our respective attacks around the same time was likely just a coincidence. Marc had not been getting the same friendly results from Medeco when he spoke to them. He wrote a response to the NDE #3 articles (especially Peter's "Open Letter to the Locksport Community"). Although the article was quite critical of the response it was not meanspirited. In my opinion, he said some things about the situation that really needed to be said at the time. Everyone (myself included) was so excited that a company was finally aknowledging our efforts that we didn't comment on some less-than-positive aspects of it. An example of this was that a very similar decoding tool had been created a couple of decades earlier and Medeco had fixed the problem temporarily in response to it. The hole was later opened back up and many years later I had rediscovered the problem. I had a chance to meet with Marc at both Last HOPE and DefCon 16 that year and had a great time talking with him. I recommend reading his articles to get a somewhat different perspective on this story.
Marc's Response to Medeco Part 1
Marc's Response to Medeco Part 2

Meeting Medeco
Eventually, the thought of publicly releasing the tool came forward. NDE Magazine seemed like the
right way to release it. I've known the staff for quite a while and it was their suggestion and connections(esp. Doug Farre at that time) that eventually
landed myself and Schuyler Towne (Editor of NDE) a meeting with Peter Field (Medeco Director of Research and Development). We all met
in the dining area of my small apartment on a Sunday. We spoke for hours about locks, disclosure, and many other topics. Eventually, an
agreement was reached; we would allow Medeco 2 months to begin rolling out a fix for the vulnerability. After that, we would release an
article in NDE detailing the attack. During this 2 month period, myself, Schuyler, and Peter all wrote articles about the situation
without revealing the attack itself. These articles were published in NDE #3 and caused
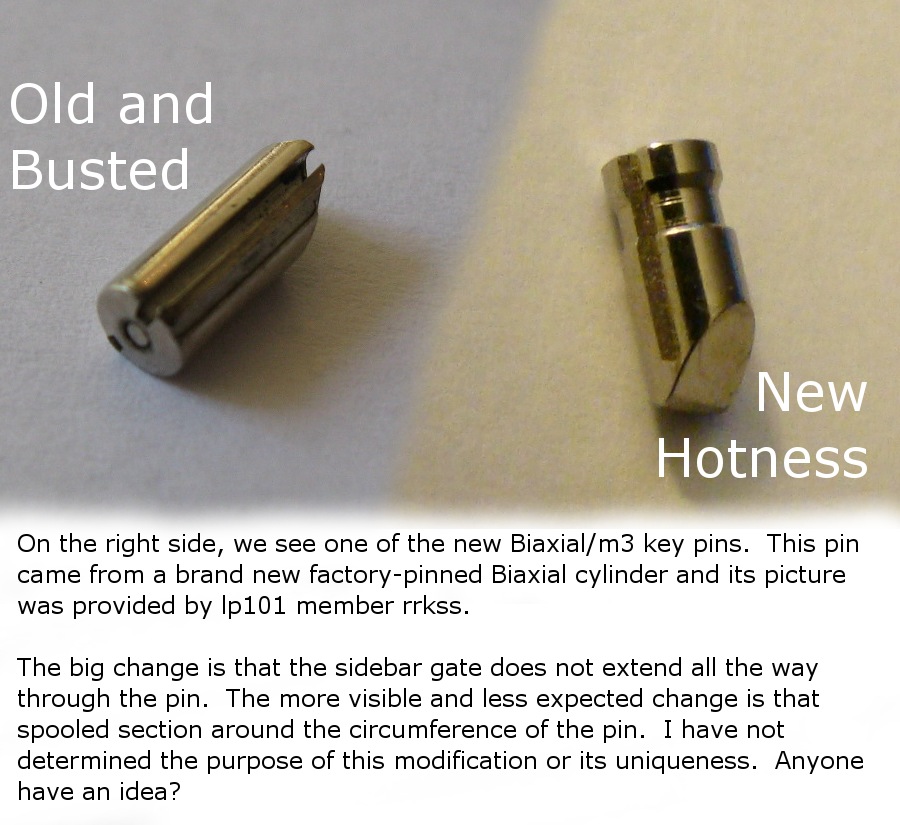
quite a stir. The fix was closing off the sidebar grooves in each lock coming off the assembly line. ARX is an older Medeco system primarily intended for
high-value targets and government applications that is known to have thus feature. The solution was to mix one feature of ARX
(called "milled pins") into the standard product line; this makes the Medecoder ineffective on those pin stacks. Here is the letter that Peter
Field wrote for NDE#3.

Medecoder Improvements
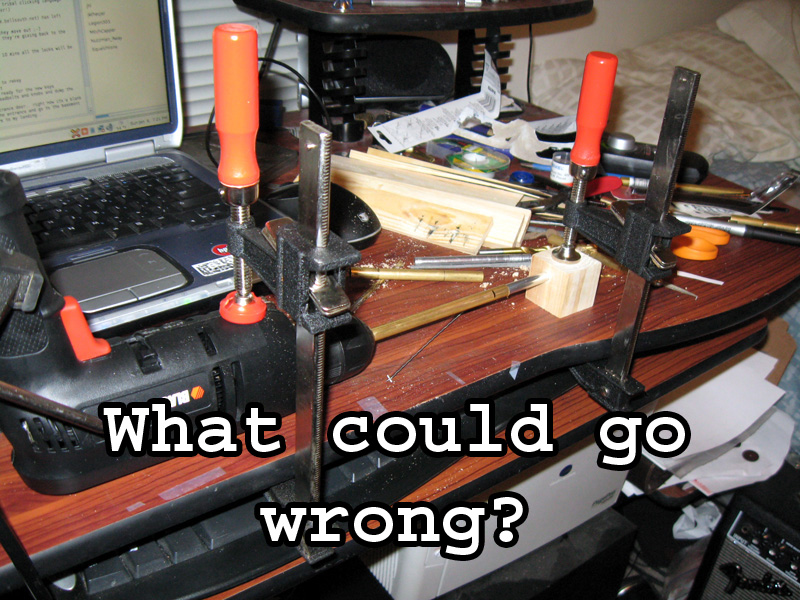
For a long stretch of time, I made a lot of experimental changes and modifications to my original design. The biggest improvement was
using JB Weld instead of silver solder. Also I used some clamps to turn my cheap power drill into a
Ghetto-Lathe. I experimented with cutting little windows in the support tubes and properly polishing
them. I tried out different materials including stainless steel and
aluminum. Also, I used set screws and small wooden inserts to create
interchangable wire tips (in case of breakage). This was the time period that started selling and trading the tools to trusted folks in the
lockpicking community. I did so very cheaply and didn't really have any aspirations for it to become profitable. I was much more interested
in finding out how easily others could learn to use it and whether or not it could be improved. It was a very exciting time full of information
exchange and opened locks.

Decoding
The previous entry explained how the Medecoder works while actually picking a lock open. In this one, I will attempt to explain how it can
also be used to determine what the rotational bitting of the lock's key is. This information might be useful for techniques like bumping,
impressioning, etc... Lets first look at how the pins are designed. What determines a Left from a Right from a
Center pin is the rotational relationship between the sidebar groove and the Locater Tab. The locater tab's purpose
is to limit the rotation of the pins so that things don't get jambed up because the pin's rotated to some funky angle. The first decoding
possiblity we will examine is Center pins. If the groove (and index mark) can be pushed and pulled to either side of the proper location
(and hence scale mark) evenly, then the pin is a Center. These rotational limits are enforced by the locator tab. In a Left pin, the rotational
limits are different; the index mark can only be pushed as far the scale mark but can be pulled quite a bit aft of it. RIght pins are the opposite;
the groove cannot be pulled back farther than the proper position but can be pushed a bit forward of it. It is these three different limit ranges
that allow us to decode the pin's angle simply by hooking into it, pulling/pushing it, and checking to see how far we can push/pull it in relation
to that scale mark. It's also noteworthy that this decoding method (as well as the picking method) works exactly the same on Classic,
Biaxial, and m3.

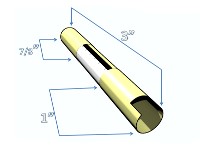
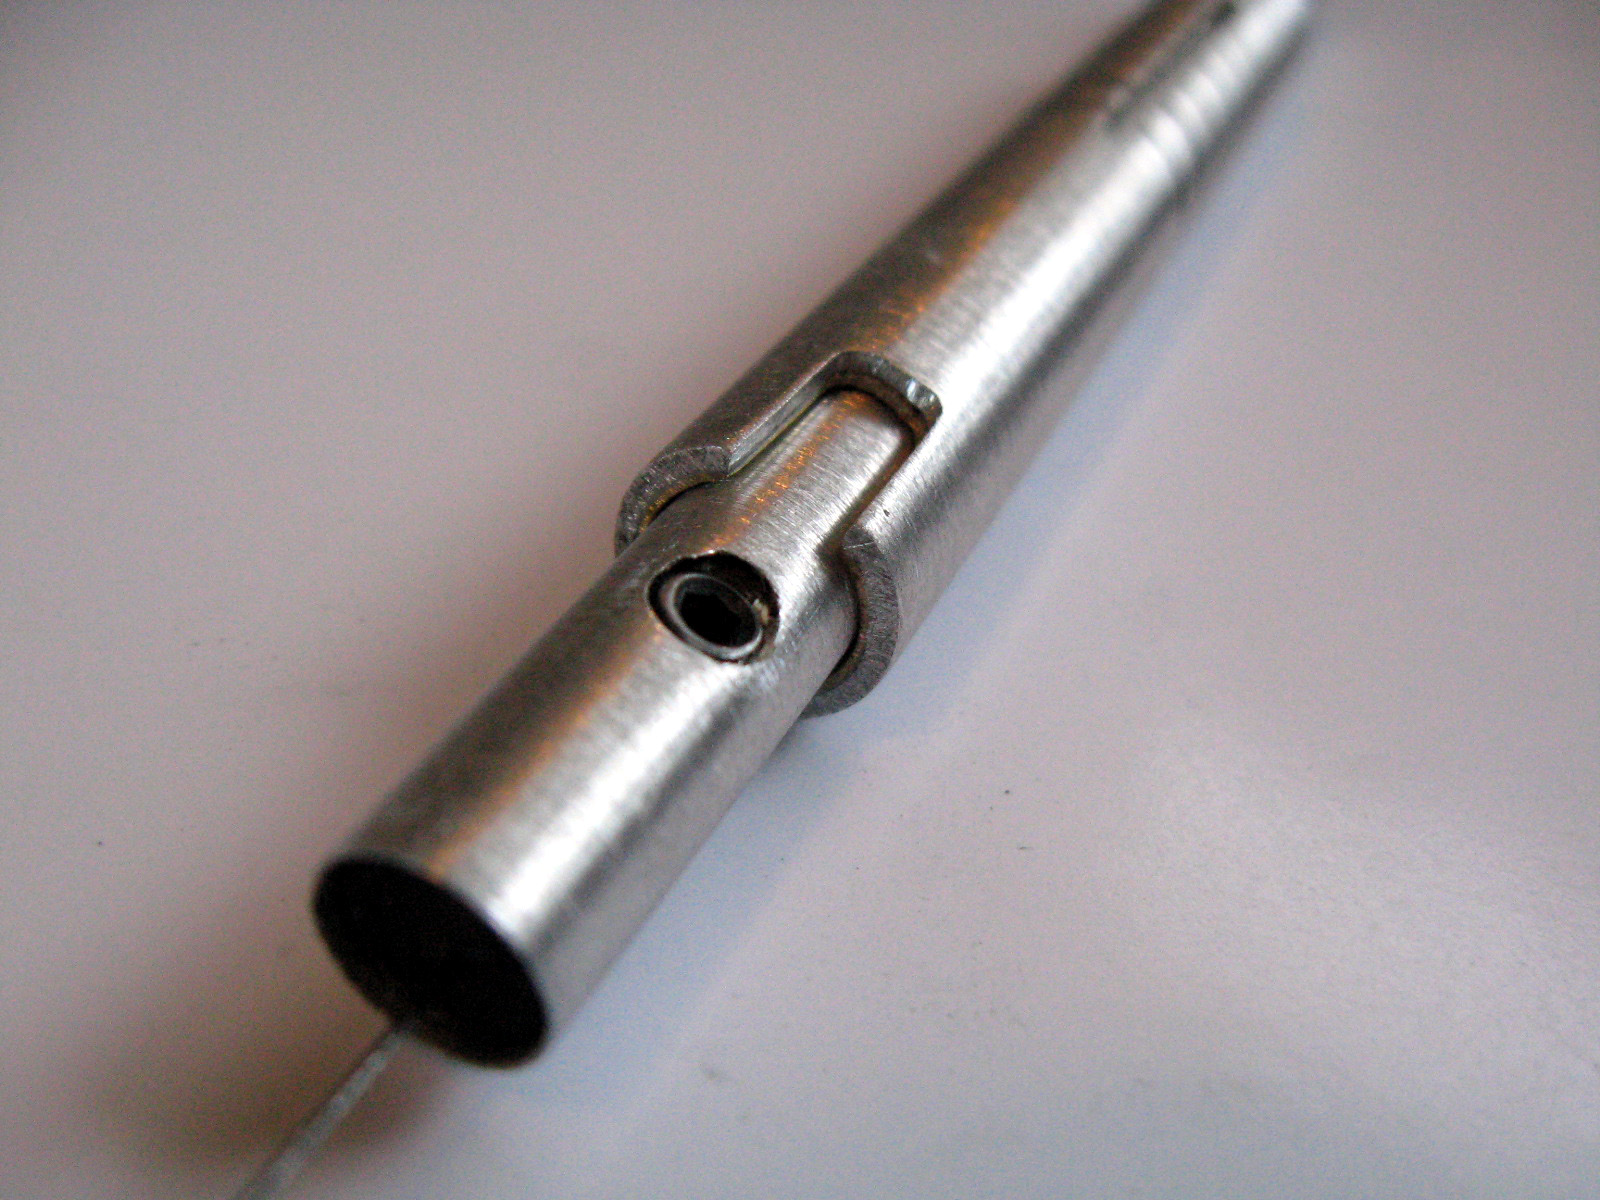
JK's Medeco Decoder-Pick
And here it is; JK's Medecoder Decoder-Pick. I believe MitchCapper was the one that suggested the name "Medecoder" upon seeing it. The tool is a Groovegrabber (with handle) with an index mark added. The second component is what I call the Scale Tube and slides over the groovegrabber. The scale tube allows the user to determine how far into the lock the wire tip is. This is accomplished by butting the front of the scale tube against the plug face while the groovegrabber is inserted into the lock. You then look through the scale tube's window for the index mark. This allows you to tell exactly where the tip of the wire is inside the lock without superhuman distance estimation. The way the tool is used is that you use the tool in a pencil like manner and hook into a pin's groove (preferably a rotationally-binding pin). Then you slide the scale tube up until it butts snuggly/flatly against the plug face. Then you look at the index mark. It will either be slightly forward, slightly aft, or dead-on with one of the scale marks. If it is not, then you have not hooked into a sidebar groove and should try again. Your goal is to push/pull the groovegrabber while hooked into each pin so that the index mark lines up with the cooresponding scale mark. Once you have done this, you have set the sidebar. If using clockwise tension, you must pick the lock to shear before doing any of this. If using CCW, you must pick it to shear after rotationally setting all of the pins.
These first tools that I made were very simple and quite ugly looking. As I recall, digital_blue is the only person that has a surviving one. I
used a paper scale at first and later used a chisel to make the scale marks. I was also quite fond of silver solder as a means to attach
the support tubes on the ends of the scale tube. They are mostly cosmetic but also provided some additional strength to keep the tube
from deforming and ruining the sliding action. The only tools used to make these were a Dremel and later a grinding wheel.

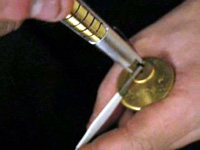
Groovegrabbing
After realizing that wire combs simply did not work, I decided to try a simpler approach. I used a simple piece of wire (later adding a handle)
to hook into the sidebar grooves and manually set the pins' rotations by feel one at a time. This method is quite viable but takes a lot of
practice. At this point we find out that the pins have a rotational binding order similar to the typical shearline binding order of normal locks.
What this means is that you must rotationally set the pin in the correct order for that particular lock (unless you have a very steady hand
and can withdraw the wire without the disturbing its rotation). When a pin is rotationally binding and hooked into, pushing and pulling the
wire feels impossible/very hard. This is due to the sidebar teeth being driven into the side of the pin and thus causing friction. If you find a
pin like this, slowly lighten up your tension while pushing and pulling until it "breaks free". What happened was that the sidebar tooth is no
longer trapped in the pin's false groove. It will likely immediately set properly and you can move on the next pin. This process is quite
similar to picking normal spool pins. I definitely encourage folks to learn groovegrabbing; its a fun type of picking and really requires you to
visualize whats happening in the lock. Also any practice with this will directly help your efforts with a full-blown Medecoder tool.
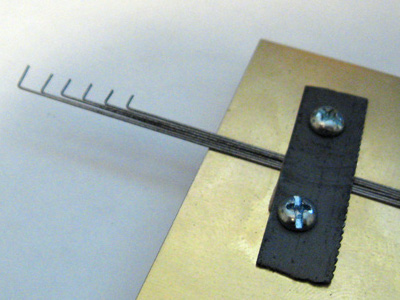
Wire Combs
The first tools I created were meant to hook into all of the grooves simultaneously despite their scrambled positions in the lock. The
springiness of the wires (spaced at 0.17") would then correct the scrambled rotations all at once, thus "lining them up". The effect would
have been quite impressive; a wire comb-like tool would be inserted and wiggled around a little to hook in. Then all of the pins would quickly
rotationally set and the lock would open (after picking to shear of course). This idea did not work because of the lack of flexibility and
springiness of the music wire I used. It simply could not bend far enough to catch the grooves and still be able to spring back. There may
still be some promise in the design premise of these tools though.
The Vulnerabilities
After thinking about the lock for a while, I realized that two problems existed: open grooves and even spacing. The first problem is that the sidebar grooves on the side of the key pins travels the entire length of the pin. This means that the end of this groove is accessible from the keyway in almost every case. There are some keyways that are simply too restrictive to slip a wire into that grooves but they are rare. What makes the exposure of this groove so interesting is that it enables the attacker to directly control the rotation of the pin. By hooking into the open sidebar groove with a piece of wire (0.020" diameter for example) and then pushing and pulling, the rotation can be set easily. It does not reveal any information about the proper rotation to set, but it does allow some very concrete control over it. I believe that my tool is the first to actually allow picking of the rotations vs simply decoding.
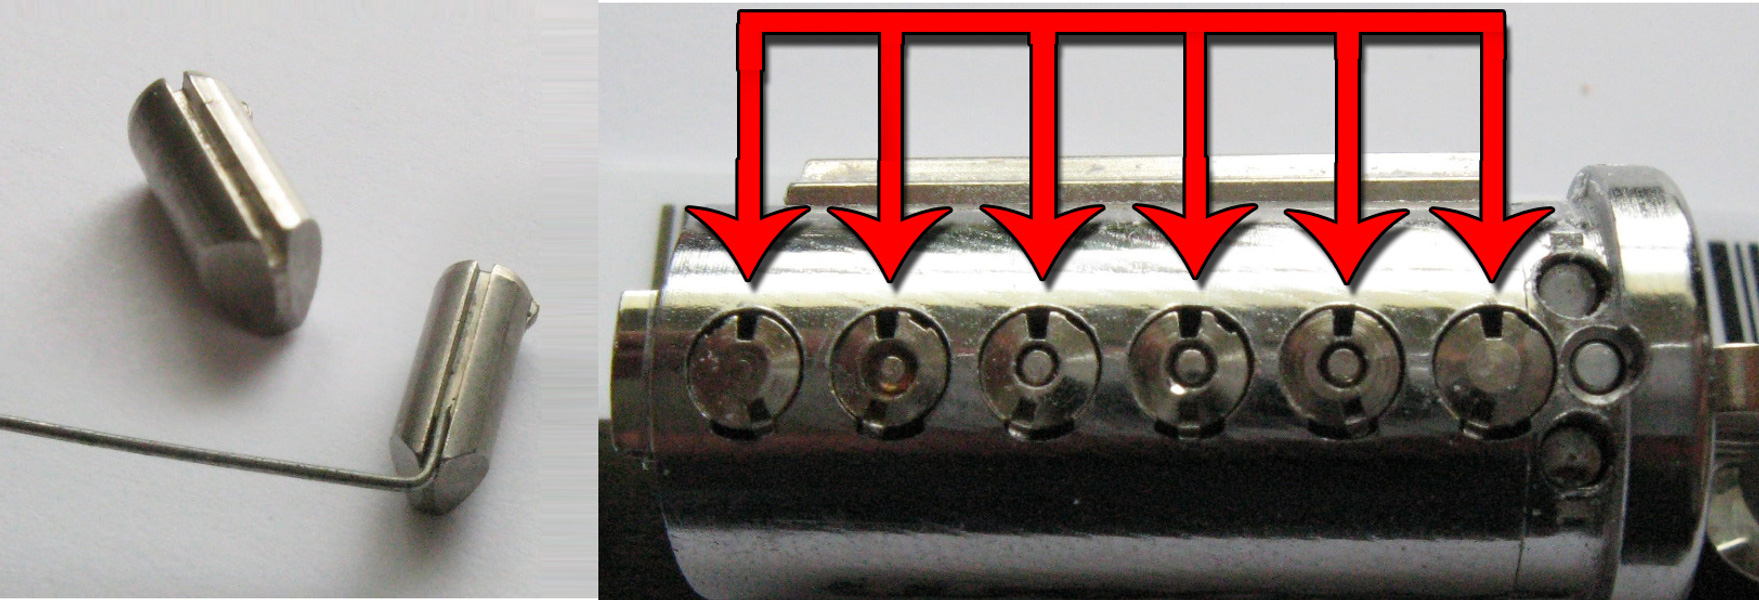
The second and, by far, more fundamental vulnerability is that the spacing of the sidebar grooves is the same on every Medeco (0.17") when
they are open/picked. From a design perspective this is unavoidable; the sidebar grooves must mesh with the sidebar teeth. If you want to
manufacture only one sidebar and not make it unique, your groove spacing must be even/matched to that single sidebar design. What this
means to us is that after we hook into the grooves, we already know what rotation to set the pins to. If we were controlling rotation via the
chisel tips, this decoding would be impossible. Because our reference of rotation control is the groove itself and we know where the grooves
must go (evenly spaced from each other at .17" intervals); we can determine whether or not the wire should be pushed forward or pulled back.
Brainstorming
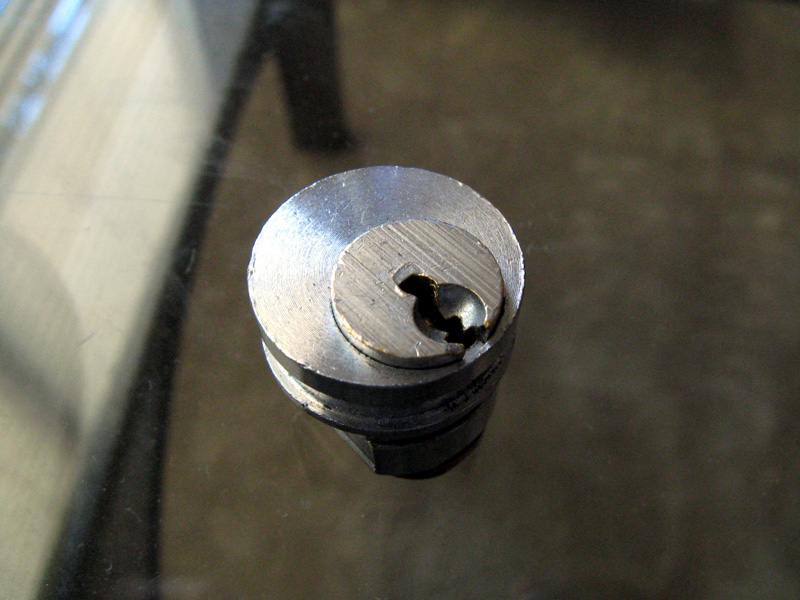
The first Medeco lock that I opened was a 4-pin payphone lock. I grabbed it off Ebay and went to work on it one night on watch. I was using a combination of single-pin-picking for setting the shearline followed by manual rotation using a hook as well as light raking. After several hours, I finally got it open. It gave me the same rush that picking my first lock ever ( Master 140) did. I opened it a few more times quite a bit quicker than at first then started thinking...there must be an easier way. This lock also inspired me to go purchase my first "real" 6-pin Medeco Biaxial.
The time I spent opening
this first payphone lock also revealed something very important about opening Medecos: the separation of locking mechanisms. What I
mean by this is that one can lift the pins to their proper heights and set them there before or even after rotating them. In other words, you
do not have to lift and rotate at the same time in order to set those characteristics of the pin stack. By applying tension clockwise, the
shearline will bind first; this means that you can pick the lock normally (lifting) and then deal with the sidebar. By applying tension
counter-clockwise, the sidebar will bind first and thus the rotations of the pins. This means that if you use CCW tension, you must rotate
the pins to the proper angles before the sidebar will drop in and allow the shearline to bind (you then must pick the pins normally). What all
of this means is that you can choose which aspect of the lock you want to defeat first (sidebar or shearline) simply by choosing the
appropriate direction of tension.